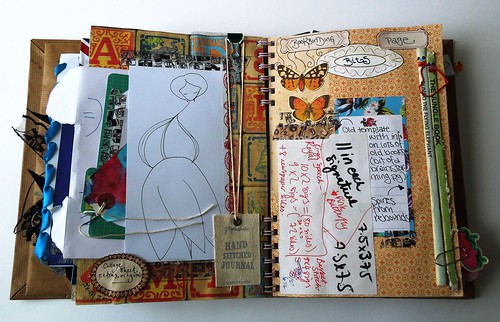
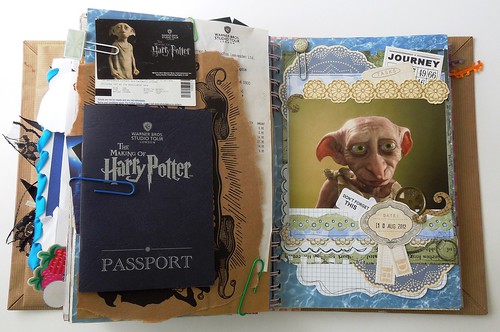
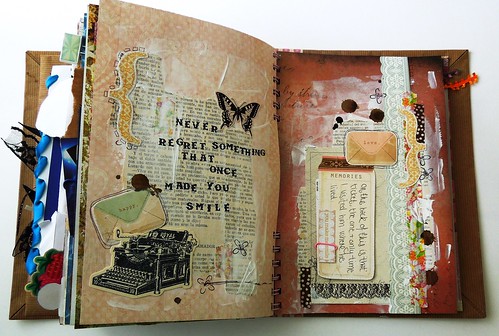
Hi guys, okay so here is the second part to my Smash Book tutorial; The Removable Cover ( - sound like a B movie much?! lol). If you need part one, where I made the actual Smash Book, it can be found by clicking here.
First let me again mention that this is just how I did it, but there's a million zillion ways to make a Smash Book, so it you want to go off and do it another way, do it. Also that I didn't buy anything to make mine, I just used things I already had in my art room so that's why there's things like watercolour paper etc being used here. I just want to make it clear that you do NOT need any of these items specifically, just take a look around and see what you already have that you can make use of =D
So for this part
You Will Need:
1) Sturdy Cardboard for the Covers - I'm using grey-board
2) 3x Pretty Papers to cover it - one for the front, back & spine
3) 2x Large Papers for the Slip-in Pockets - I'm using medium-weight watercolour paper (I'd say use a goodish-weight for this, as these pockets will be taking the weight of your smashbook)
4) Adhesive (I'm using double sided tape, glue stick and tacky glue - you know me I love to make things that are SOLID lol)
5) Ruler, Scissors and/or Trimmer, Bone Folder/Brayer
Creating Your Cover:
So first up you will need to decide how big you want your Removable Cover verses your Smash Book.

There's no right or wrong here, I decided to add an extra inch or so to the width, and half an inch to the height. So I ended up with front and back covers that were 7 1/2" x 11 1/4".

Next cut your spine, which obviously needs to be exactly the same height as your front and back covers but it also needs to be a little bit wider than the spine of your actual Smash Book. So given that my Smash Book spine is 1 1/2" I just added 1/4" to make it 1 3/4".
Now you want to make your Removable Cover look pretty so cover it with your chosen papers:

...because my front and back covers are so tall, and I used 12x12 scrapbooking paper, my cover was pretty tight, but as long as your savvy with your wrapping this shouldn't be a problem.

I used a lot of glue at these points so that I didn't get those hated air-bubbles under my paper, smooth and silky is how we like it ;)
For a nice neat job cut your corners to avoid overlapping

Can you see how I put more paper over to one side of this board? Well if you use a bigger sized paper (or have a smaller sized cover) than me you won't need to worry about this, but if you don't then make sure you put more paper over to one side (you'll see why in a mo).
 |
| Nice n' neat |
Now line up your covers, and if you have an 'extra' bit of pattern-papered cover like I do then put them on the inside, towards your spine like this:

Next cut and put your chosen Spine Cover paper on:

The size you make this paper is up to you but the larger you make it, the more it will be a feature on the front and back of your Removable Cover. Make sure you glue the WHOLE piece of paper.
*Tip: I recommend using a good quality weight paper for this bit, as this paper will turn into the 'hinge' of your Smash Book.
Now line up your covers on either side of your spine, allowing space for the opening and closing of the book. The best way to do this is to 'butt-up' your first cover to your spine piece vertically, then lower it down onto the glued paper horizontally - then that gap that is left between your spine and your cover is *exactly* the space the book needs to open and close.

Fold over your end bits, score them in neatly and here's what you should get:

I covered the inside of the spine with a strip of matching paper, not necessary but it does smarten it up:

Now it's onto the pockets so take whatever large paper you are using for this and place it on your Smash Book.

...then fold it over your original Smash Book's cover, first length-ways...

...then in at the end too.

This is by far the easiest way to create a perfectly sized custom pocket I have found, without worrying about all those pesky things like measurements lol
Now you just have to glue it down to make a sort of envelope:


I again cut the corners as you can see, it's not necessary but I just think it neatens it.
Now glue it onto your cover:

*Tip: You want your slip-in pocket as close to the edge of your cover, and as far away from your spine, as possible. This allows your Smash Book slip in and out a lot more easily.
(It's also why I put the extra patterned-papered part of my front and back covers in towards my spine, so that any parts the pocket does not cover of the grey-board will already be covered by the patterned paper - arrrrh that's why! she's a smart one that Jennibellie! lol)
Secure your pocket with pressure; Bone Folder, Brayer, or hands:

This just also helps the underside of the pocket to be firmly stuck down, so your Smash Book doesn't snag on anything as it slides in and out.
Then finally repeat the pocket making process for the other side:

*Tip: I'd recommend having the back cover of your Smash Book already in place in your pocket when you stick it down to the Removable Cover - it just makes it easier (and means once you've done it, then you're completely done yay =) )
Also of course you can just make this Cover and stick your Smash Book permanently down into it, as I did with my previous Smash Book...but I would still recommend putting in one pocket, it just allows the natural movement of the spine to not put stress on your book =)
So that's it, congratulations you've made a Smash Book (Cover)! lol
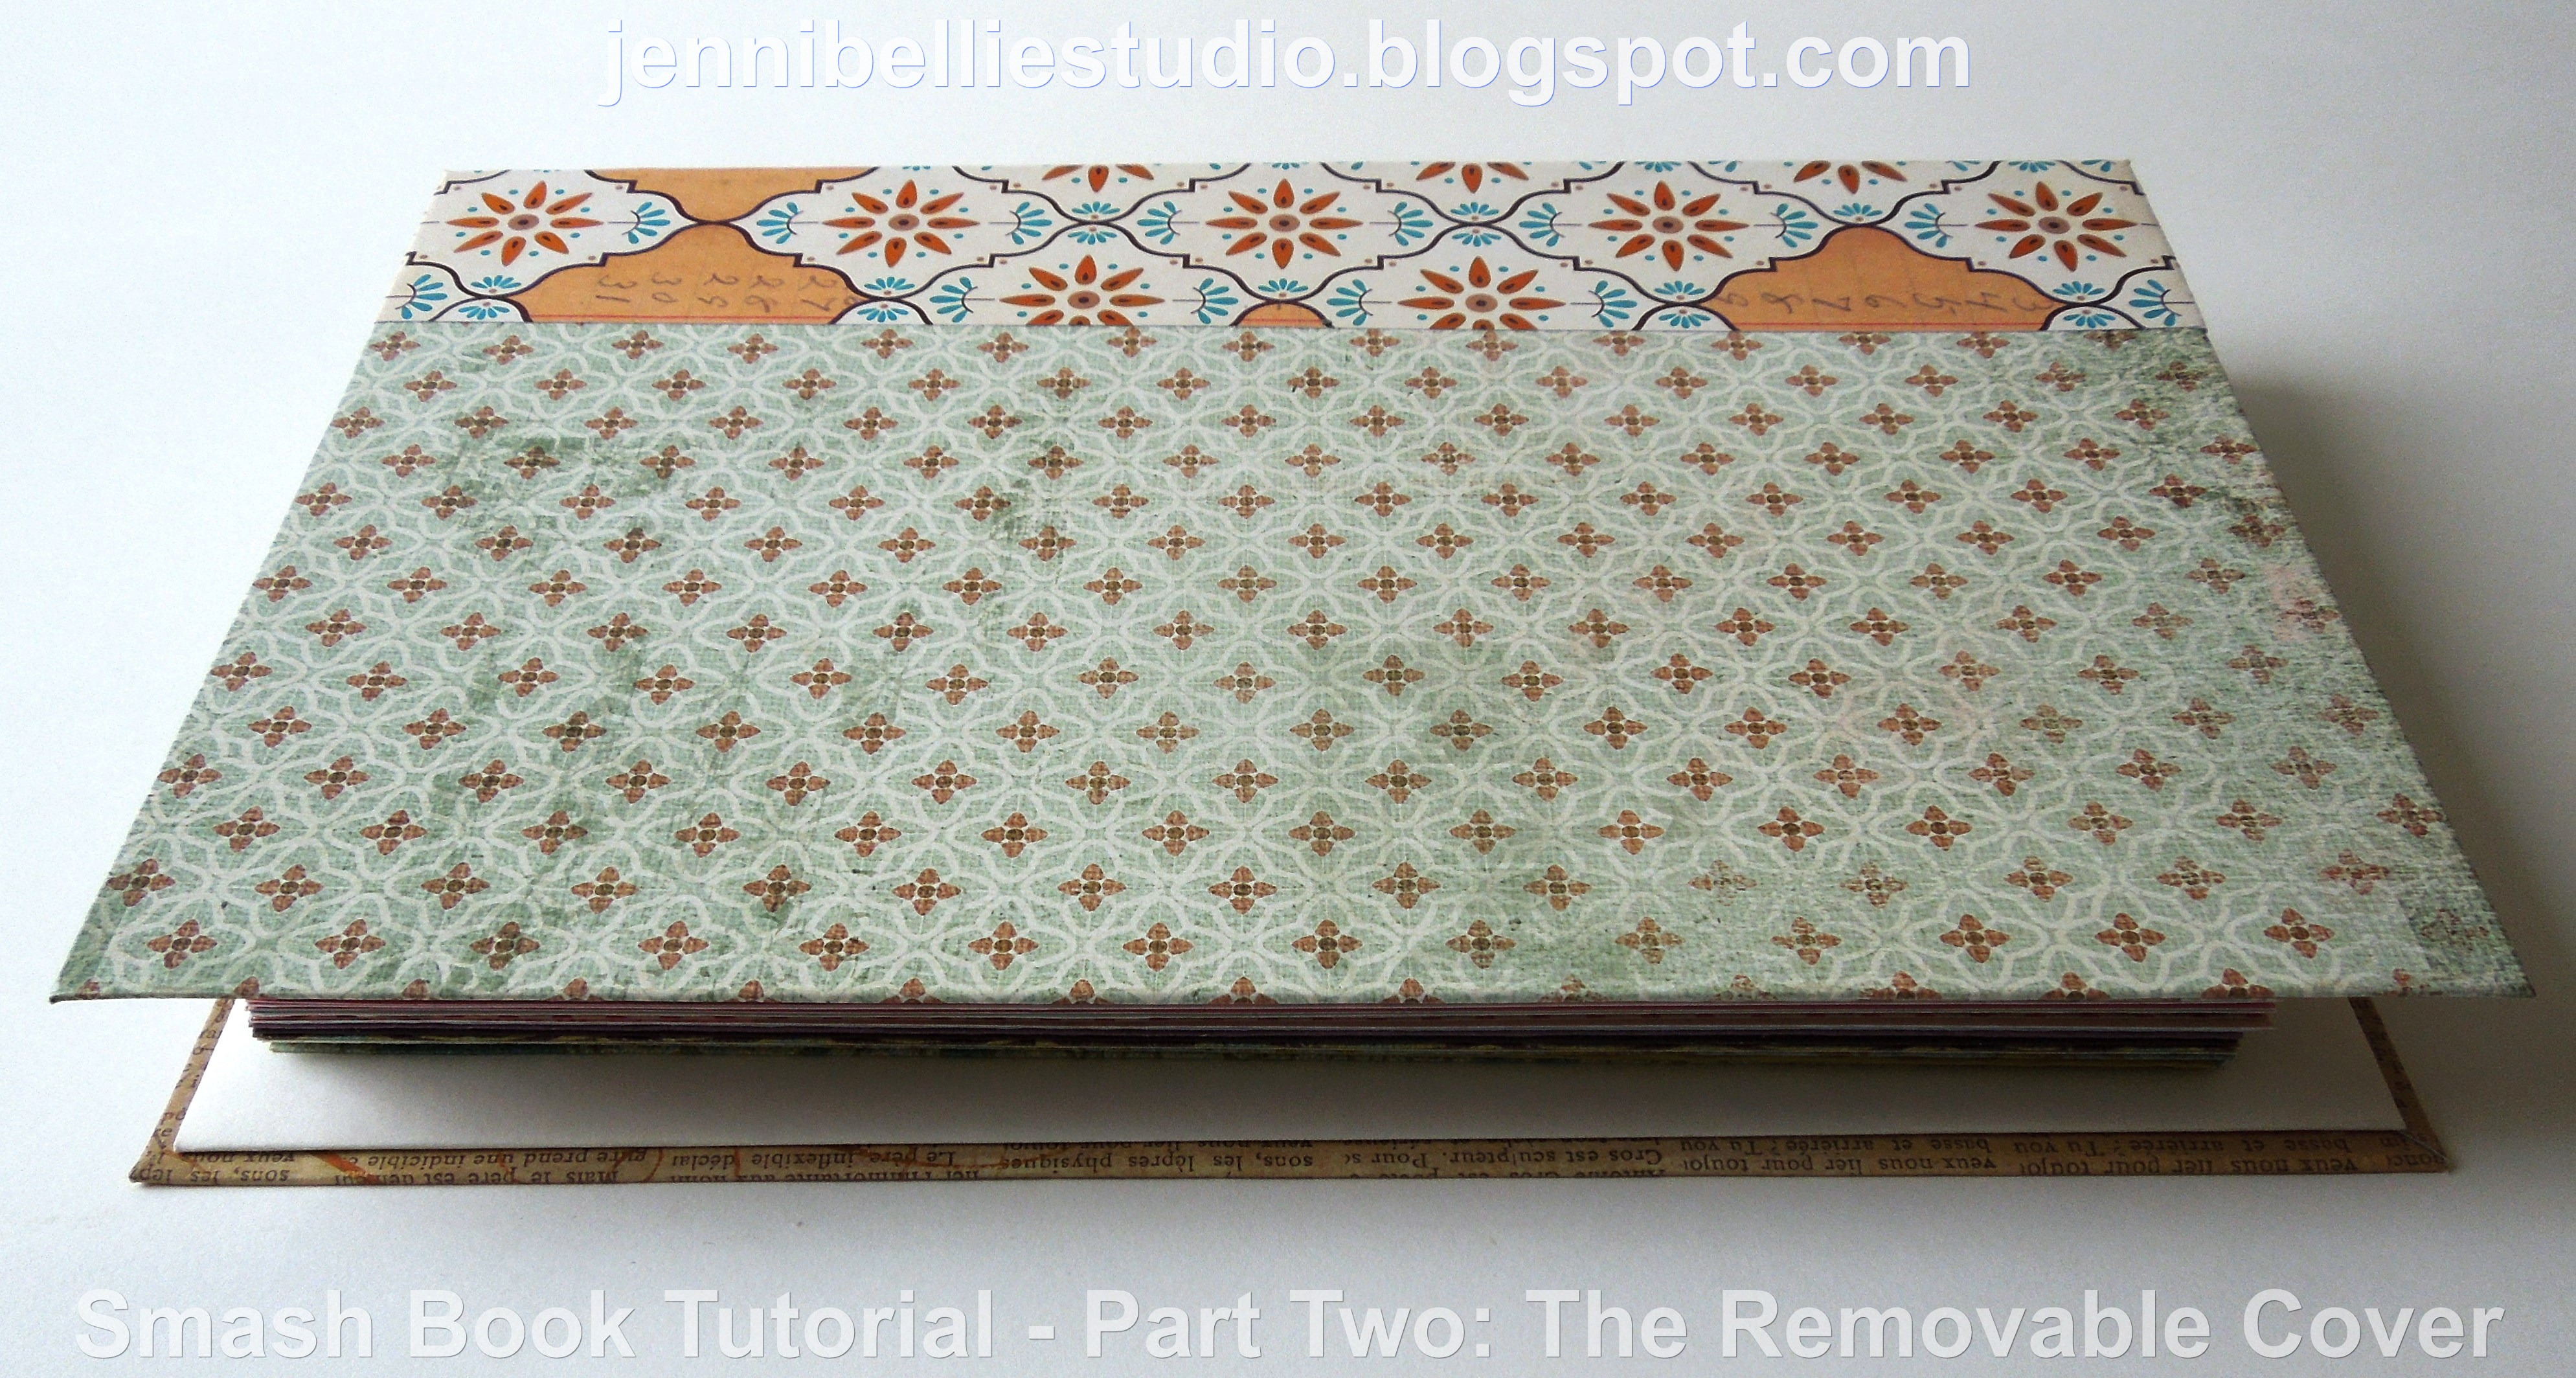
Here's a little video showing a bit of a flip of the finished Smash Book =)
And here's the bit of the tutorial I didn't include:
 |
| a mandatory interruption or two from Sweepiebum ;) |
I hope this has been helpful to everyone that's wondered or asked how I made my previous Smash Book =)
Till next time,
Much love