Sunday 30 June 2013

How to Become a Beautiful Bonafide Belliette!!

Arrrrgh how did this happen??

I just received an email from Bloglovin telling me Google Reader is disappearing tomorrow!!!

I was convinced I had longer than that to do the mandatory
'other options for following me' post...but evidently not.

I had plans. I had dreams.
....okay those were only to set up a newsletter, but for the extremely-challenged-in-all-areas-technology-related-gal that is me, doing that is a big deal! 

And now apparently I have only one night to do it in

...but fear not, 
I have help (hey thanks mum, my coding-queen extraordinaire!) and these things happen for a reason - and obviously this happened to kick my butt into action because every time someone leaves a comment on an old post saying 'wow! I love, how did I miss it?' or 'OMG, I was wondering about that and never realised you already did this on it' the little niggly, annoying voice in my head is responding:
'ya really need to get on that newsletter ya know. Nothing major, just send one out once a month so peeps can get the highlights of Jennibellie-land for that month.' 


So here we go, a once a month Jennibellie update sent straight to your inbox can be got by filling in that bright pink form in the top left corner or clicking here.

And as a thank you for becoming a fabulously beautiful bonafide Belliette you'll get some instant goodies (three free digital collage sheets that I created in my 'Creativity is Not Brought From A Craft Store' Video, for you to use however you like in your art and craft pursuits) and you'll also get my eternal love
(that's the forever, and ever, Vampire-esque kind!)


And of course there are other ways to follow
(so there Google Reader :p)
such as Bloglovin
the email update button that's on the right over there ----> 
(But they're just the regular kinda love options, you have to sign up for the Newsletter to my special immortal kind! ;) )

Mwah! Thank you for reading
a tired Jennibellie is now off for a long kip (no coffin-puns required)

Saturday 29 June 2013

A Personal Flip Through My Journal Pages

Hi guys, so I've filmed a further more in-depth delve into my recently finished art journal:


This is quite a personal video as I share some real aspects of my life that are actually happening within my journal pages. 


It does not go as deep as my recent zine, as that is a lot more specific in terms of who the page is about, or what exactly I was feeling in a particular situation, and the kind of stuff I wouldn't want to talk about online; but I think writing that zine loosened me up to share thoughts, feelings and opinions on this level in video ... I guess you could say it was kind of the mother of it lol


I hope you enjoy...and that it helps people realise that they can actually put their life into their art journals, it does not need to be just about the 'art'.


You can see the quick flip version of this journal here
Laters ;)

Thursday 27 June 2013

Smash Book Tutorial - Part Two: The Removable Cover

Hi guys, okay so here is the second part to my Smash Book tutorial; The Removable Cover ( - sound like a B movie much?! lol). If you need part one, where I made the actual Smash Book, it can be found by clicking here.

First let me again mention that this is just how I did it, but there's a million zillion ways to make a Smash Book, so it you want to go off and do it another way, do it. Also that I didn't buy anything to make mine, I just used things I already had in my art room so that's why there's things like watercolour paper etc being used here. I just want to make it clear that you do NOT need any of these items specifically, just take a look around and see what you already have that you can make use of =D

So for this part
You Will Need:

1) Sturdy Cardboard for the Covers - I'm using grey-board
2) 3x Pretty Papers to cover it - one for the front, back & spine
3) 2x Large Papers for the Slip-in Pockets - I'm using medium-weight watercolour paper (I'd say use a goodish-weight for this, as these pockets will be taking the weight of your smashbook)
4) Adhesive (I'm using double sided tape, glue stick and tacky glue - you know me I love to make things that are SOLID lol)
5) Ruler, Scissors and/or Trimmer, Bone Folder/Brayer

Creating Your Cover:

So first up you will need to decide how big you want your Removable Cover verses your Smash Book.


There's no right or wrong here, I decided to add an extra inch or so to the width, and half an inch to the height. So I ended up with front and back covers that were 7 1/2" x 11 1/4". 


Next cut your spine, which obviously needs to be exactly the same height as your front and back covers but it also needs to be a little bit wider than the spine of your actual Smash Book. So given that my Smash Book spine is 1 1/2" I just added 1/4" to make it 1 3/4". 

Now you want to make your Removable Cover look pretty so cover it with your chosen papers: 


...because my front and back covers are so tall, and I used 12x12 scrapbooking paper, my cover was pretty tight, but as long as your savvy with your wrapping this shouldn't be a problem. 


I used a lot of glue at these points so that I didn't get those hated air-bubbles under my paper, smooth and silky is how we like it ;) 

For a nice neat job cut your corners to avoid overlapping 


Can you see how I put more paper over to one side of this board? Well if you use a bigger sized paper (or have a smaller sized cover) than me you won't need to worry about this, but if you don't then make sure you put more paper over to one side (you'll see why in a mo). 

Nice n' neat 

Now line up your covers, and if you have an 'extra' bit of pattern-papered cover like I do then put them on the inside, towards your spine like this:


Next cut and put your chosen Spine Cover paper on: 


The size you make this paper is up to you but the larger you make it, the more it will be a feature on the front and back of your Removable Cover. Make sure you glue the WHOLE piece of paper. 

*Tip: I recommend using a good quality weight paper for this bit, as this paper will turn into the 'hinge' of your Smash Book. 

Now line up your covers on either side of your spine, allowing space for the opening and closing of the book. The best way to do this is to 'butt-up' your first cover to your spine piece vertically, then lower it down onto the glued paper horizontally - then that gap that is left between your spine and your cover is *exactly* the space the book needs to open and close. 


Fold over your end bits, score them in neatly and here's what you should get:


I covered the inside of the spine with a strip of matching paper, not necessary but it does smarten it up:


Now it's onto the pockets so take whatever large paper you are using for this and place it on your Smash Book. 


...then fold it over your original Smash Book's cover, first length-ways...


...then in at the end too.


This is by far the easiest way to create a perfectly sized custom pocket I have found, without worrying about all those pesky things like measurements lol

Now you just have to glue it down to make a sort of envelope:


I again cut the corners as you can see, it's not necessary but I just think it neatens it. 

Now glue it onto your cover: 


*Tip: You want your slip-in pocket as close to the edge of your cover, and as far away from your spine, as possible. This allows your Smash Book slip in and out a lot more easily. 

(It's also why I put the extra patterned-papered part of my front and back covers in towards my spine, so that any parts the pocket does not cover of the grey-board will already be covered by the patterned paper - arrrrh that's why! she's a smart one that Jennibellie! lol) 

Secure your pocket with pressure; Bone Folder, Brayer, or hands: 


This just also helps the underside of the pocket to be firmly stuck down, so your Smash Book doesn't snag on anything as it slides in and out. 

Then finally repeat the pocket making process for the other side: 


*Tip: I'd recommend having the back cover of your Smash Book already in place in your pocket when you stick it down to the Removable Cover - it just makes it easier (and means once you've done it, then you're completely done yay =) )

Also of course you can just make this Cover and stick your Smash Book permanently down into it, as I did with my previous Smash Book...but I would still recommend putting in one pocket, it just allows the natural movement of the spine to not put stress on your book =)

So that's it, congratulations you've made a Smash Book (Cover)! lol 


Here's a little video showing a bit of a flip of the finished Smash Book =)


And here's the bit of the tutorial I didn't include: 

a mandatory interruption or two from Sweepiebum ;) 

I hope this has been helpful to everyone that's wondered or asked how I made my previous Smash Book =) 

Till next time, 
Much love 

Tuesday 25 June 2013

Tell All Tuesday ~ Featured Artist: Ciara McGuire

Hi guys, guess what, guess what I've just pulled myself away from doing to post this TAT?!?

I was painting in my new outdoor studio eeeeeeeeeeekkkk!

The dream is a reality

...anyhow I'll tell you more about that (and prob tease you with some pics too) later as this is a TAT post, and definitely worth pulling myself away for, and this week I'm not pulling myself that far as the featured artist is another artist living just down the road from me in Britain, enjoy =)

Tell us a little bit about yourself and what kind of artist you are

My name is Ciara McGuire and I am a Mixed Media Artist. I am a 23 year old Irish girl but I am now living in U.K. I was born an artist and I truly believe that, in a completely non-arrogant way! Art sets me free, it makes me feel alive, it is my purpose in life. I don’t know why it is my purpose; I just know that I am meant to do it.

I mainly work on stretched canvases or canvas board but I occasionally dabble in other crafts such as altered art, paper-craft and of course, art journaling. My canvases are colourful, bright and happy and they usually convey an uplifting message. I use paper, paint, inks, stencils, stamps, modelling paste and pretty much whatever else I can get my hands on to create my artwork. Much like Jennibellie, I am eager to use recycled materials in my work as often as I can and I have a keen interest in upcycling too. I feel that it is such as shame that there is so much waste in the world and if we can’t control it we might as well try to make something beautiful out of it!

I am a very messy artist, I will let you all in on that little secret. My art desk/area puts me to shame daily. My mind goes too quickly for me to consider tidying my supplies away; I have to try to keep up with it! I am always leaving brushes in jars of water for days on end and leaving tubs of paint lying around without any lids on so that they end up drying out. When I get to my desk I have been known to just push mountains of stuff out of my way and attempt to work in the tiniest space imaginable. That is when I know it’s time to clean up. I’m sure most of you are wincing now at the thought of my poor art supplies not being looked after properly but I think they are happy. I bet if they could talk, they would tell you that they are being used exactly how they are supposed to be used – by a crazy, messy, eccentric artist ;) Well that is what I continue to tell myself anyway.


What is the biggest challenge you personally face as an artist and how do you overcome it?

I think I would have to say that the biggest challenge I have faced (and still face occasionally on bad days) is just having the courage to call myself an artist!

I don’t have any official qualifications; I have never been to an art college or studied art at university so in the past I didn’t believe in myself enough to put myself out there and say “Hey, I’m an artist. Have a look at my art”. I had (and still have) many wonderful people in my life who always encouraged me to pursue my dream, my true calling, but I didn’t have the confidence in myself and without confidence in yourself, it doesn’t matter how many people praise you, it’s no good.

However, as I grew up and got out of my teens (thank God!) I started to gain more confidence and self belief. On top of that I realised that there are tonnes of fantastic, brilliant artists out there who are self taught and are very successful. I started to believe that I too could make my way in the art world as long as I kept my chin up and created art at every opportunity. And so, here I am, doing just that!


What messages do you try to portray in your work and do you feel you achieve it?

Messages are an extremely important feature in my artwork. As you can see every piece of work I do contains some wording.

My main goal is to reach out to those suffering with depression and anxiety through my artwork, sending them an uplifting or guiding message – perhaps similar to an affirmation. However, I believe that everyone will see something in my artwork that will relate to their own situation in life.

I feel that it would be difficult for me not to achieve this, as my messages are displayed clearly on my work. As I said before, everyone can find something in my artwork that relates to their own life and as long as that continues to be the case, I will be more than happy.


Do you ever lose your mojo and if so how do you get it back?

Of course I do! Show me one artist who doesn’t and I’ll fall over with shock! There are times when I lose my mojo for a just couple of hours and I solve this by taking a break. I might go for a short walk or take a cup of coffee, just something that doesn’t involve sitting staring at a blank canvas with the feeling of fear stirring in my gut.

Then there are the times my mojo goes AWOL and it is nowhere to be found for days. This is the scary one because I don’t know how long it will last and the more I fret over it the less likely it is to come back. Usually when this “creative block” strikes I go searching for inspiration. I might go surfing the web for inspiration artists of artwork to muse me or read some of my favourite blogs or watch some Youtube videos. Often times I will give myself a challenge such as only allowing myself to use 3 colours or 4 different types of paper. Interesting by limiting myself I end up opening up a whole land of possibilities again. It’s not very often that I suffer with this problem though because for this I find prevention is better than cure and so that is why I art journal every morning before I do anything else. I find art journaling to be a fantastic way of getting my creative personality to cooperate with me. I start off with a blank page of my art journal and basically do whatever I want, there are no rules at all, just messy creativity. Whatever paint comes to hand first goes on the page, whatever scraps of paper are lying around get stuck down, the first stamp or stencil that I pull out of my stash gets used. You see where this is going right? I find by doing this simple exercise every day, it keeps my creativity flowing and I rarely then have problems with losing my mojo anymore unless it is for reasons such as sickness etc.


Tell us where we can find out more about you and your art 

Where do I start? It might be easier to tell you the places you can’t find me!! I am everywhere at the moment.

First of all, I have a blog, where you can follow my mixed media art journey. I post up regularly on my art adventures with some tutorials and daily life thrown in too. I also have an Etsy shop, where all my original artwork is available to purchase. The shop is in its infancy at the moment but I will be adding some new products to my shop in the near future so keep an eye out for announcements on my blog and other social media sites. You can also find me on Facebook, Twitter, Instagram and Bloglovin’.

Thanks so much for sharing Ciara, I love the colours of your work - right now I am craving that teal blue colour, in practically everything I do...perhaps I'm art expecting lol well I definitely am but now I'm getting sidetracked lol your morning exercise sounds gorgeous, and actually I think it was exactly what I was just doing in my new studio. I have a 'warm-up journal' in my normal art room that when I am feeling stuck I just stick down some scraps or scrape on some paint around but now I'm thinking 'hell I'll just make my outdoor studio my 'warm-up' room!' because there is something about that freedom; that complete child-like state of creative freedom that is not about getting fabulous results but unlocking yourself...and to be honest I believe that is where the magic is really created anyway, so the results will usually be fabulous regardless =)

Do you want to be a featured TAT artist??
To be featured email me or find all the details here =)

Much love

Sunday 23 June 2013

Smash Book Tutorial - Part One: The Book

Hi guys, no I didn't forget about this tutorial lol but it's turned out so long for a blogpost I'm splitting it into two to save the length. 

So this section will be for the book itself, aka this bit:


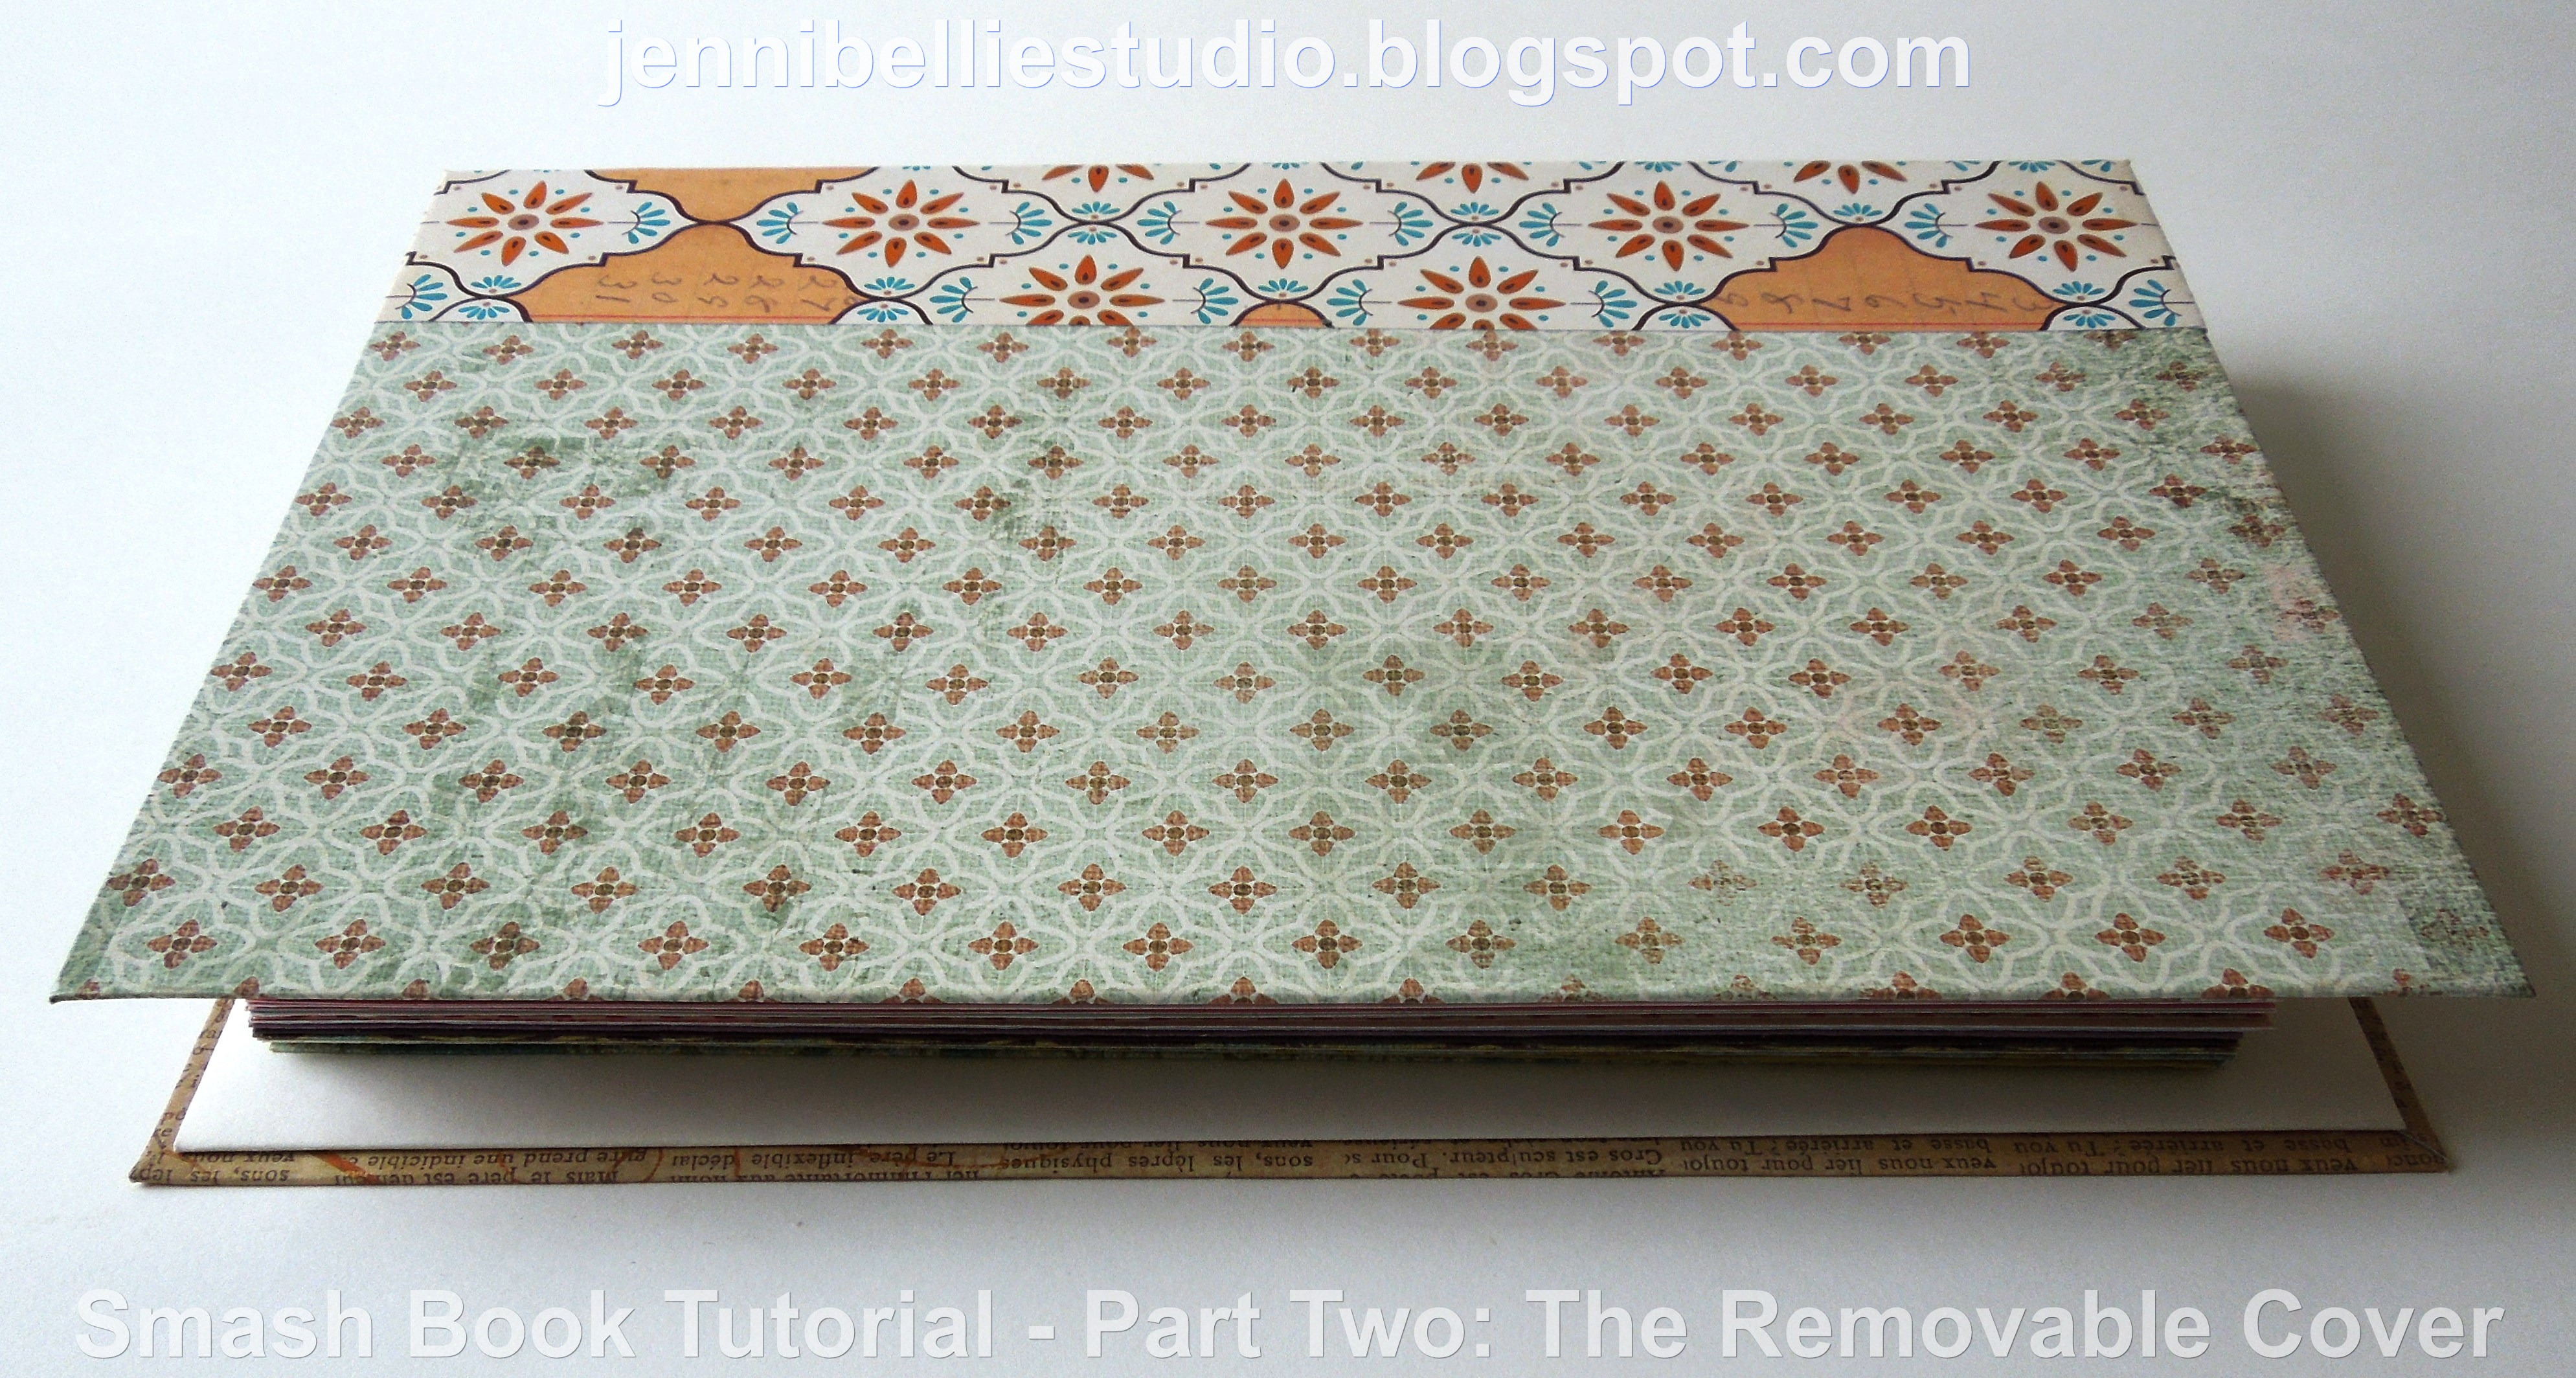
Part two will be for the Removable Cover and fitting the book inside, aka this bit:


So this tutorial is just how I created my Smash Book, it is not the only way to create a Smash Book (there must be a bunch of tuts out there by now) or the 'official way' or anything, just how I went about doing it, as I've been asked a million bazillion times how I made my previous Smash Book I wanted to show & tell how I made this one. 

So first up you will need:

1) A binding machine 
(I have the Zutter Bind-it-all. I have a little more info on binding machines in my FAQ page if you want it.)
2) To know how to use your binding machine 
(this is not a product demo - one of the reasons I didn't want to do a video tutorial on this was so it wouldn't get all caught up in machine settings etc, just use your machine however you would ordinarily.)
3) Paper to fill it, I'm choosing 12x12 pretty pattern papers
4) A cover to encase it, I'm using a large sheet of heavy-weight watercolour paper (approx 16x11 or something similar)
5) Owires, I'm using 1" wires
6) Ruler, pen/pencil and scrap paper for template
7) Glue and Bone Folder, optional if you want to make pockets.


Creating Your Smash Book:

So first you need to decide what size you want your pages to be, as this will also determine the size of your covers. I went for something really easy; 6x10 so that I could pick some scrapbooking papers I found pretty and have minimum wastage (cut 2" off the top, and then straight down the middle). This also meant my large watercolour sheet would be pretty much the right size for a cover without having to cut that down either.


*Tip - My last homemade Smash Book taught me that if you are going to be sticking a lot of things into your book then your pages are going to need to support them, so either you choose only card-weight papers, or double them up as I'm doing here. To do this simply fold your paper over (pretty side out), glue the bottom and once bound you'll have a full sized-pocket opening via the top!

Next measure your cover:


Whatever size you want your cover to be is entirely up to you but you will need it to be big enough to a) fit your spine and b) have enough extra space either side to fit your pages when the book is both open AND closed. By that I mean you have to take into account both the width of the pages AND Owires (i.e. I have to account for 6" pages AND 1" Owire). If you only calculate your pages you will come up short when the book is closed and have your pages sticking out. If in doubt add on some extra, k? Ok =)

Then I measured the direct centre of my cover sheet, and 0.75" either side of it, like this:


I then scored all three lines to create an 'M' shaped cover, like this:


That centre line is what I will later put into the binding machine but the reason I scored the line at 0.75" either side of it (making the spine a total of 1.5") is so that the ending result will allow room for the 1" Owire and the 'M' to remain an 'M'. If you create the spine too tight the 'M' will straighten out and not allow for any give, so I would recommend measuring 3/4 of the size of your Owire either side (therefore your spine should turn out to be one and a half times the Owire size). 

I then created a template for binding by taking a scrap piece of paper the length of my pages and measuring the centre point (5") and from there I measured either side where I would like my wires to go. 


Again how you want to bind your book is personal preference, you may wish to run your wires down the entire length of your book. I prefer the look and ease (not to mention the savviness of using the minimum) of just doing two punches per page, and therefore using only two 6-ringed Owires for the whole book. 

Here's how I used the template, 
I stuck my pages securely to it with a clip, lined up the centre to my punch line and BAM!:


So all my pages once done looked like this:


I then took my cover and folded it inside out as you can see above, then stuck the template on that too, lining up the middle line with the centre of my cover:


Once punched and flipped it back the right way it looked like this:


Then I stuck in my Owires:


And added my papers:


Squeezed the Owires together and BOOM, a new Smash Book.


Here's what some of my inside pages look like:


I chose all kinds of pattern papers from different collections to keep my interest, but that meant they really didn't match. So to make it work I put in 'filler' colours & simple patterns etc so that overall it flowed from one collection/colour to another cohesively. 


Spend some time arranging the order of your pages to be exactly how you want them, because once they're bound it's tough titties, as my Grandma would say!

And that's part 1 done, yay! and of course you can just leave your Smash Book at that if you want but in part two I'll show you how to make a more 'proper' cover that your Smash Book can slip into (think of it like a dust jacket lol). I'm still working on that one but should have it posted next week =)

Now get Smashin' ;)

Much love
Related Posts Plugin for WordPress, Blogger...